How to find computer IP address
What is an IP Address
IP Address stands for Internet Protocol, and it is a part of the Transmission Control Protocol (TCP). An IP address is the network address of the devices that are connected to a computer system. It is a 32-bit number ranging from 0 to 255. An IP address has two versions known as IPv4 (Internet Protocol version 4) and IPv6 (Internet Protocol version 6). IPv4 uses an IP address of 32-bits, and IPv6 uses an IP address of 128-bits. At present, IPv6 has become the standardized IP version. The main workings of an IP address are identifying host or network interface and providing host location in the network. A computer IP address is the local IP address of the system that is easy to find.
Here, we will learn to find the IP address of a system using the Windows command prompt and without using a command prompt.
Finding the computer IP address using Windows Command Prompt
There are the following steps one need to follow to know the IP Address of the system:
Step 1: Connect your system with an internet connection. It is because we need to search the Internet Protocol address of the system, and it needs an internet connection.
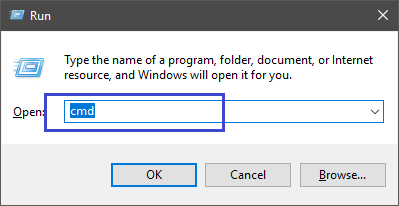
Step 2: Press Window+R together and type ‘cmd’ command in the ‘Run’ textbox and click OK as shown below:
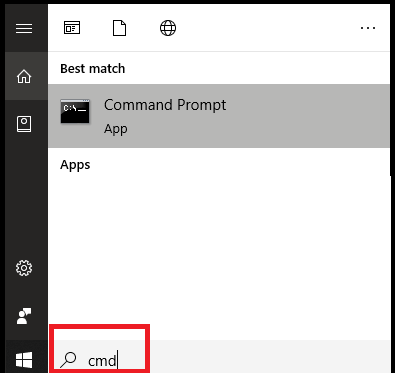
You can also search ‘cmd’ or ‘Command Prompt’ on the search bar tab, as shown below:
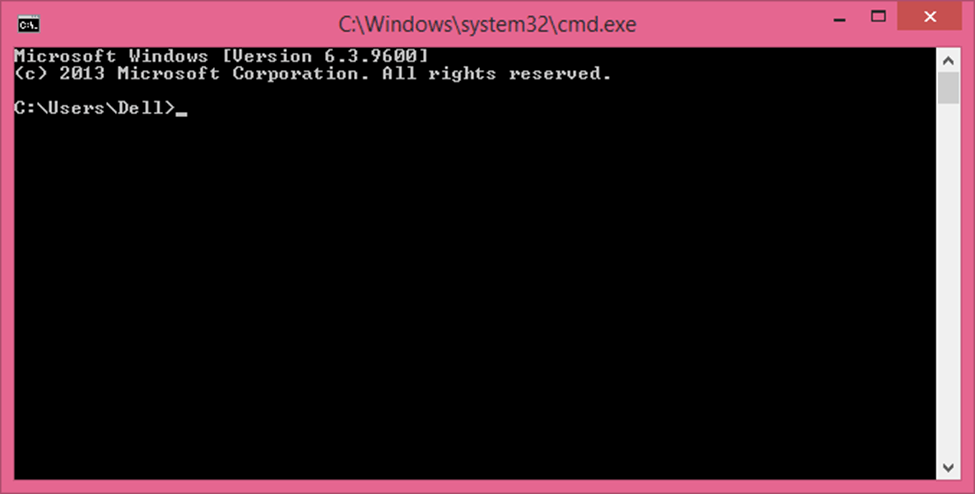
Step 3: The command prompt will open, as shown below:
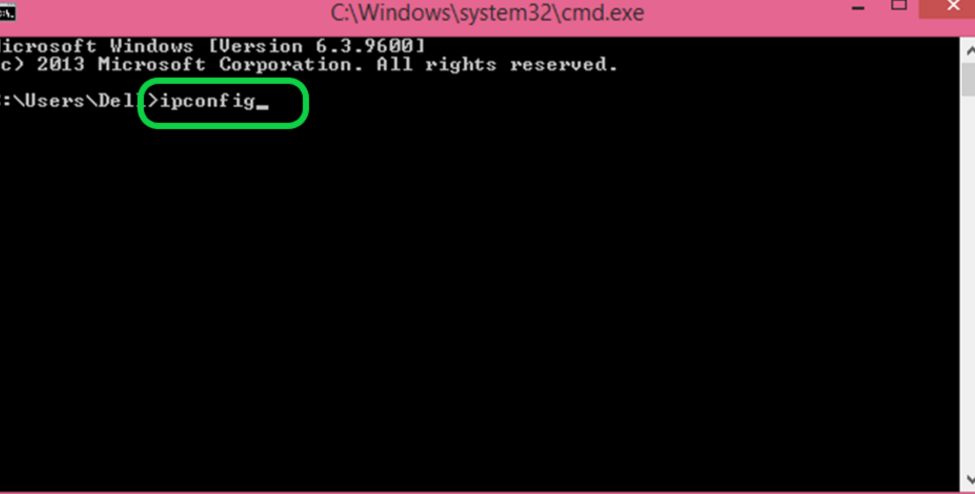
Step4: In computer networking, a command ‘ipconfig’ is used for fetching all the network interface details that are configured on the computer system. Type the command on the Windows
command prompt and press Enter as shown in the below snapshot:
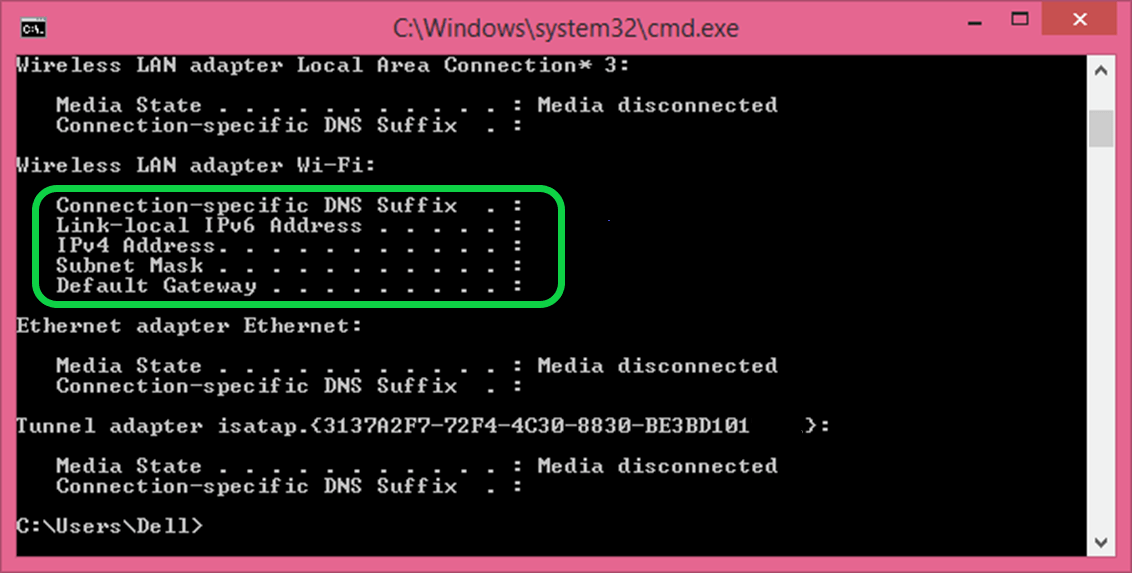
Step 5: You will be able to see all the information about the network interfaces or adapters that are connected to your system. The below snapshot shows the system’s IP address and let know the version addresses of IPv4 and IPv6:
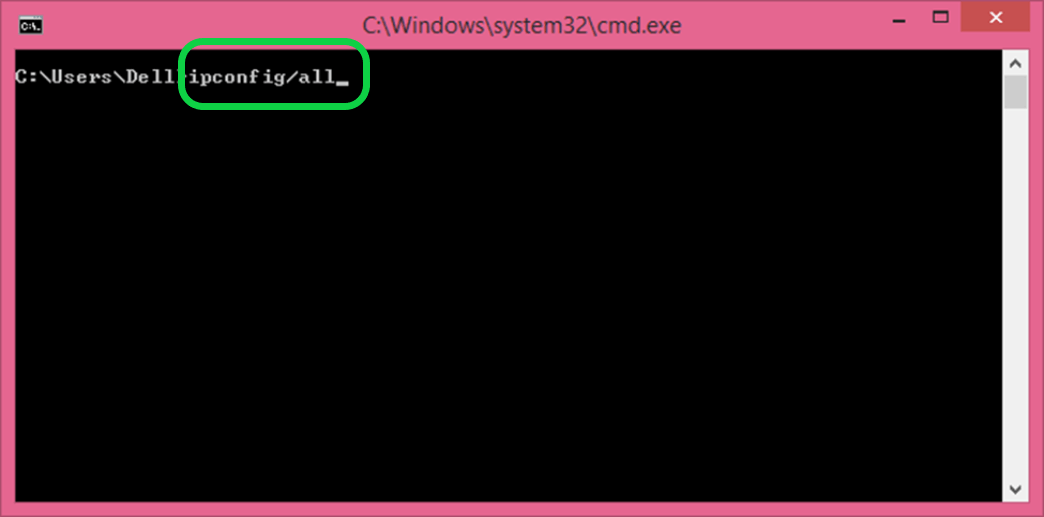
Step 6: If you want to fetch more detailed information of the network interfaces, use ‘ipconfig/all’ command in the command prompt and press enter, as shown in the below snapshot:
Step 7: The command will fetch all the detailed information of the Windows IP Configuration. A snapshot is shown below:
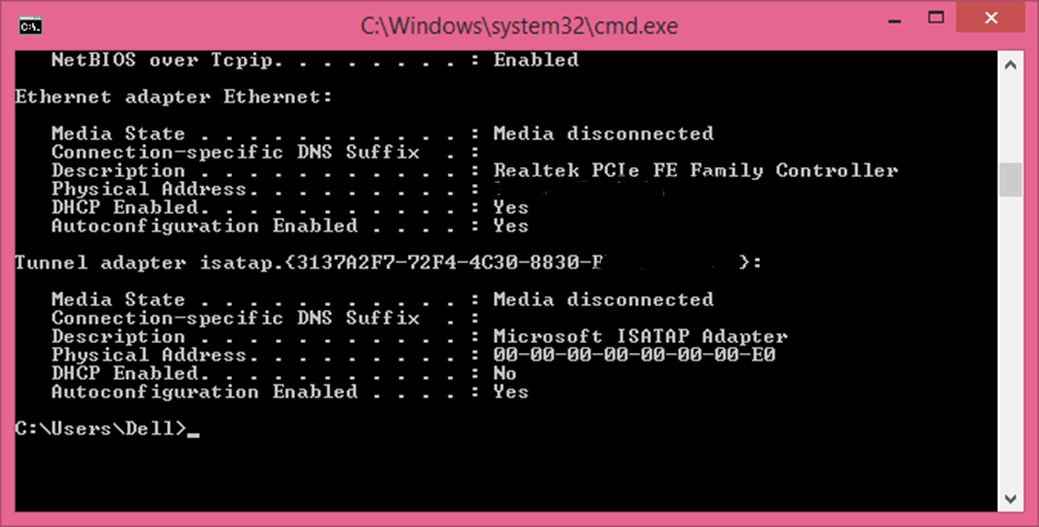
The IP address will be visible with its version number.
Finding the IP address without using Windows Command Prompt
The steps to find the IP address of your system without using the Windows
Command Prompt is easy but vary for different Windows versions. Let’s see the steps to find the IP address:
Windows 10
Step 1: Connect your system with internet connectivity or Ethernet connectivity.
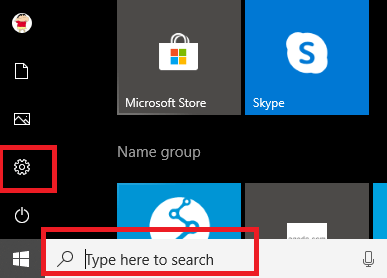
Step 2: Open the ‘Settings’ on the system by typing ‘settings’ in the search bar or click on Start>Settings. A snapshot is shown below:
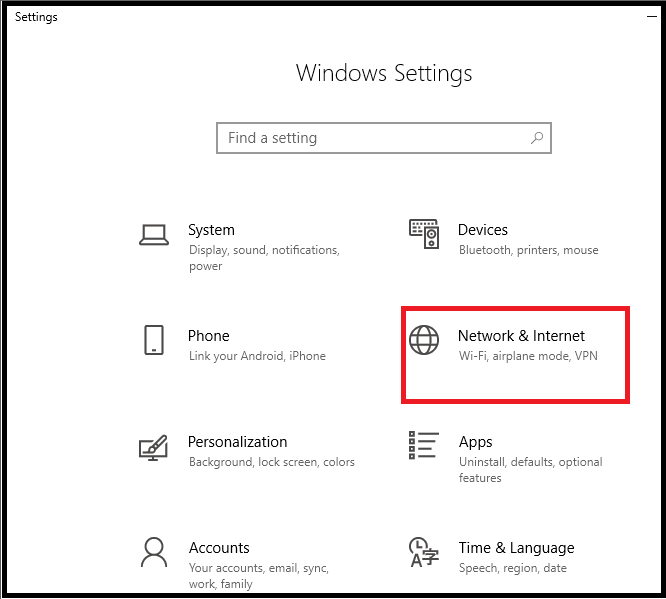
Step 2: The settings window will open. Click on ‘Network &Internet’ option as shown in the below snapshot:
Step 4: If your system is connected with a wireless connection (Wi-Fi) or with Ethernet (wired connection), select it from the left menu pane. Here, the system is connected with Wi-Fi
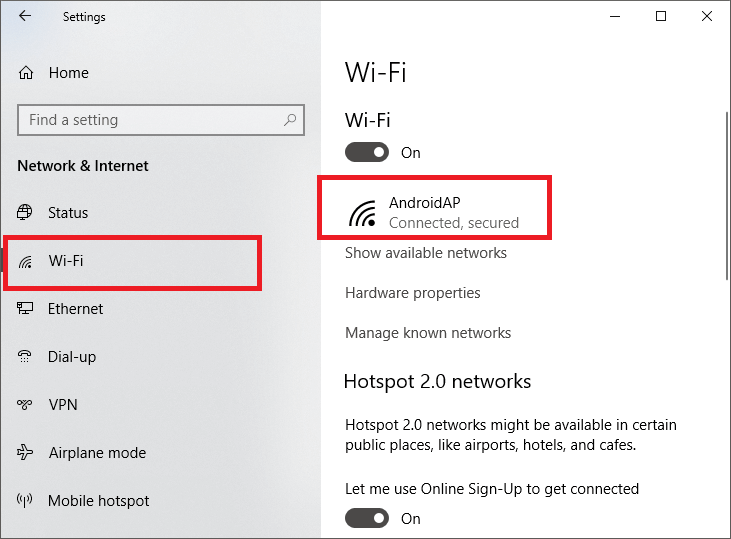
The connected network device will get displayed as in the above screenshot, and it is AndroidAP. It means the computer is connected to a device named ‘AndroidAP’. Click on the device name.
Step 5: After clicking on the device name, a window page will open that will display the network details, including the Network Profile, Metered Connection, and Properties of the connected device that contain the IP addressing. You need to scroll down, and the IP address will be displayed as shown in the below snapshot:
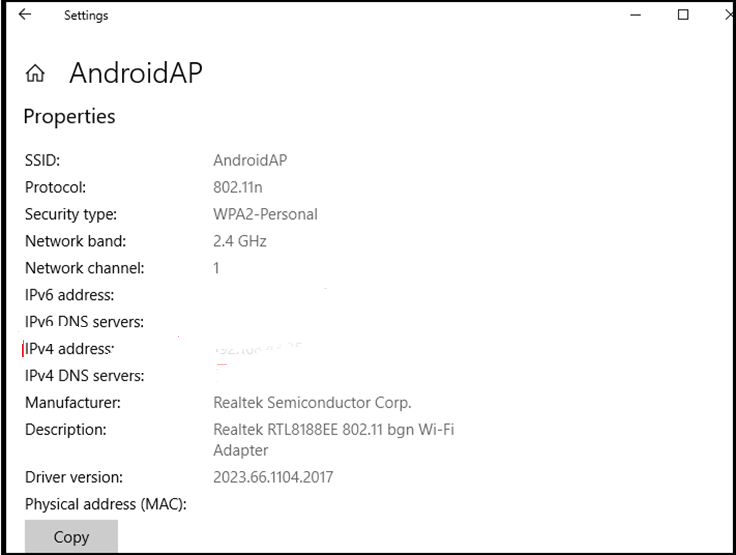
The IPv4 address and IPv6 address can be seen.
Windows8/8.1 Pro
Step 1: Connect your system with wired or wireless connectivity.
Step 2: Click on ‘Network Connection’ by searching on the search bar or directly open it by clicking on the ‘Internet Access’ icon present at the bottom-right corner.
Step 3: After clicking, a Network panel will open at the right side, as shown below:
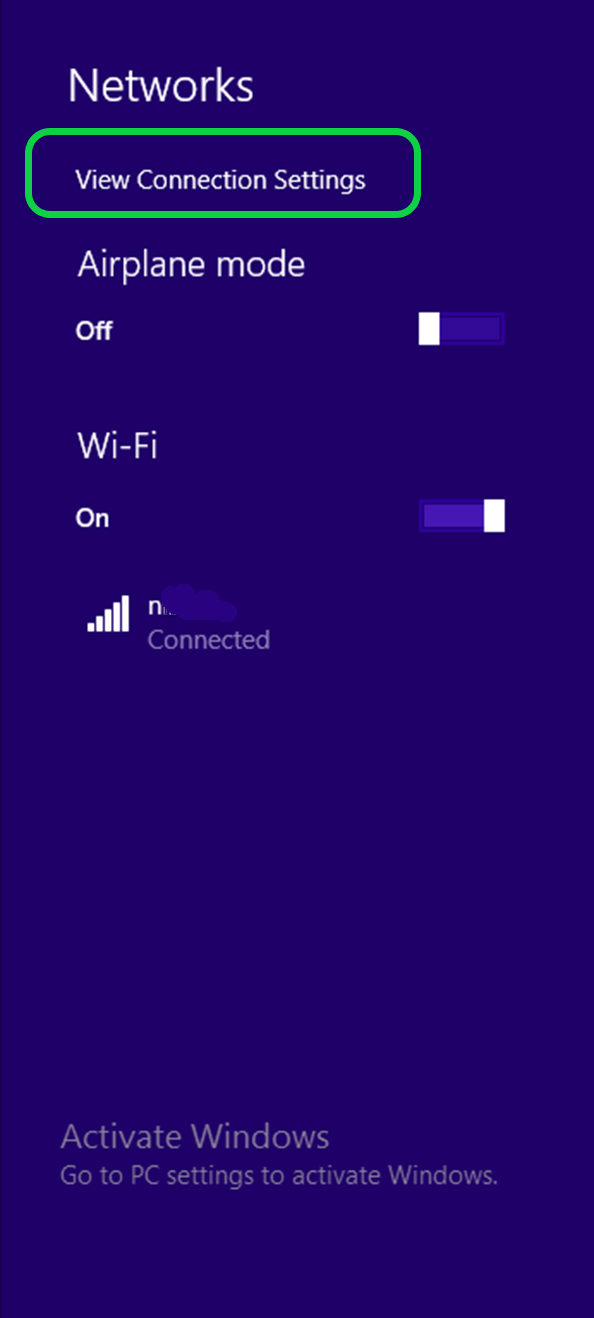
Step 4: Click on ‘View Connection Settings’ under the Panel and doing so will open a Network window as shown in the below snapshot:
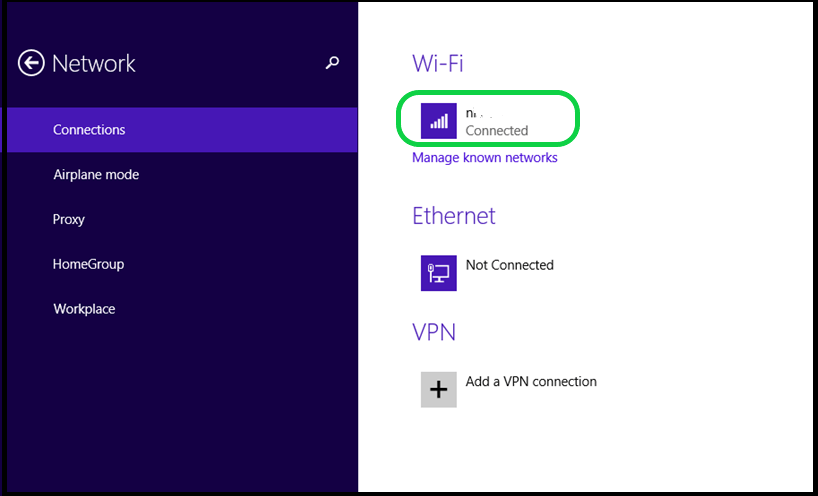
Step 5: Click on the connected device name and the device details will open up as shown below:
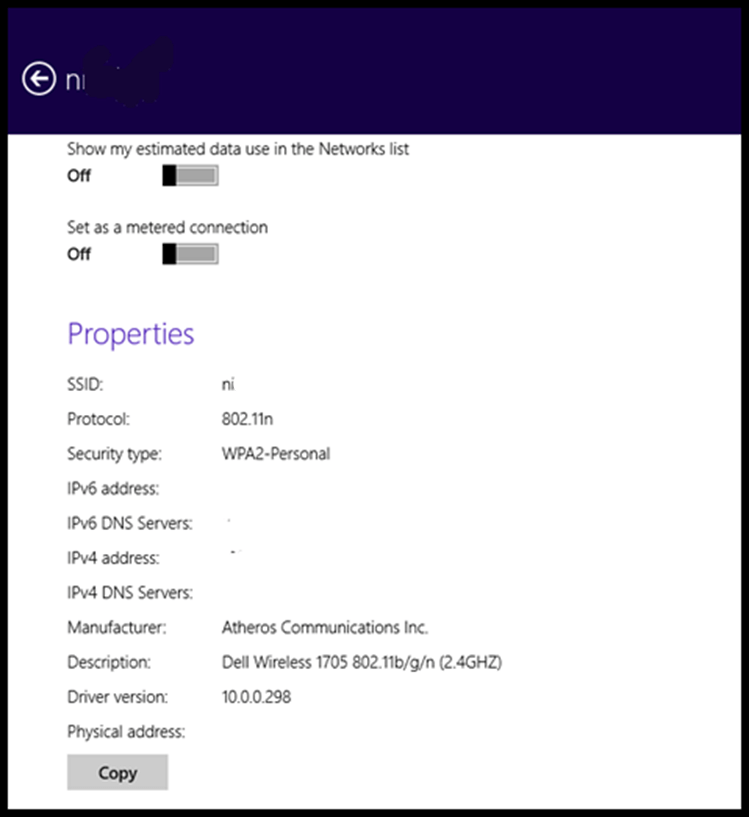
So, you can check and find the IP address of the connected device form there.
Windows 7
Step 1: Connect your system either with Wi-Fi or Ethernet.
Step 2: Click on ‘Network Connection’ appearing on the taskbar. It will show the available network for connection.
Step 3: Double-click either on ‘Local Area Connection’ for Ethernet or ‘Wireless Network Connection’ for Wi-Fi connectivity.
Step 4: Click on ‘Details’, and all the details, including the IP address of the device will be displayed on the screen.
So, these are the steps or few clicks through which a user can easily search the IP address of the computer system.


